Manufacturing products for space applications
together with mass produced goods
on the same line
Minebea Co., Ltd., began operations as a manufacturer specializing in bearings in 1951 under the name Nippon Miniature Bearing Co., Ltd. A proactive push to engage in mergers and acquisitions subsequently allowed the company to grow into a general precision manufacturer for which rotating equipment, electronic equipment, and other electric- and electronic-related products account for over half of overall sales.
Shinko Communication Industry Co., Ltd., a strain-measuring instruments manufacturer with which this company merged by absorption in 1981, constitutes the parent body of the Measuring Components Business Unit of this company. Presently, strain gauges, load cells, pressure sensors, torque sensors, and other types of measuring instruments to which this technology has been applied are produced at four different sites: the Fujisawa plant (in Fujisawa City, Kanagawa Prefecture) and Karuizawa plant (Miyotamachi in Nagano Prefecture) in Japan, the Lopburi plant in Thailand, and the Xicen plant in Shanghai, China.
Pressure sensors used in the field of space are made with strain gauges manufactured using SOS (silicon-on-sapphire) technology for high-precision measurements. In order to manufacture gauges at low cost, they are produced on the same line as that used to manufacture mass-produced articles without having to set up a dedicated line. The company’s sensors are currently employed to measure the pressure of liquid oxygen and liquid hydrogen tanks for the large H-IIA/B rocket, measure rocket combustion pressure, and to monitor the pressurizing components on HTV space station transfer vehicles.
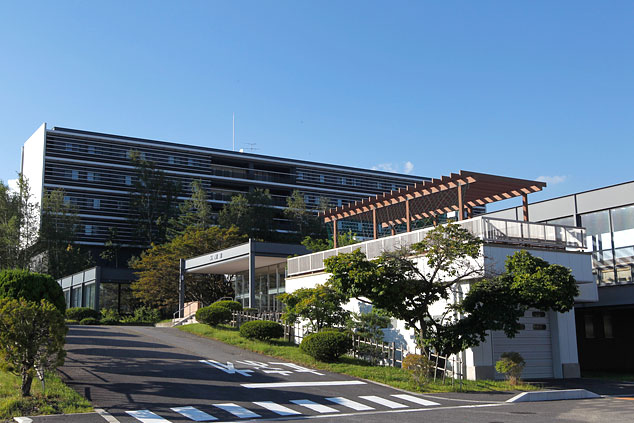
Minebea’s Karuizawa plant, a site where pressure sensors for space are developed and manufactured, is also the parent plant for manufacturing sites scattered around the globe.
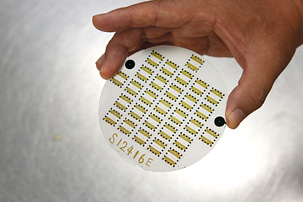
Manufactured with SOS (silicon-on-sapphire) technology, a strain gauge is built by integrating a semiconductor strain gauge onto a sapphire substrate.
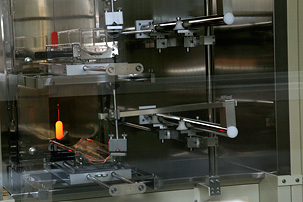
A heat-treatment furnace for diffusing impurities on silicon has been set up in the clean room.
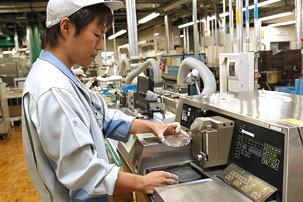
Metal pieces are welded together using an electron beam welder. A wired gauge is shown on the right.
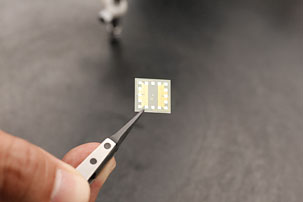
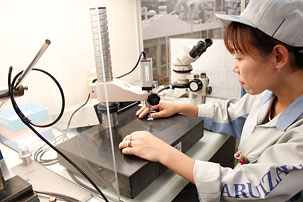
The thickness of a strain gauge is measured. A margin of error of only 3 μm over or under the thickness of 400 μm is permitted.
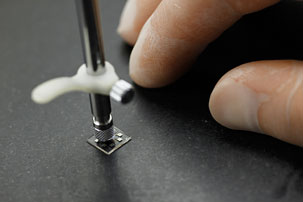
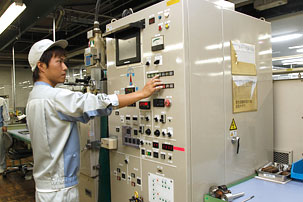
Metal pieces are welded together using an electron beam welder. A wired gauge is shown on the right.
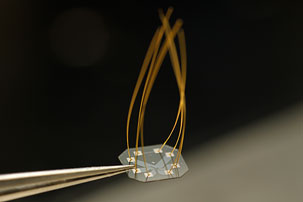
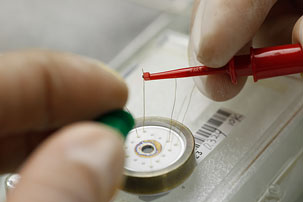
The resistance value of signal wires is measured.
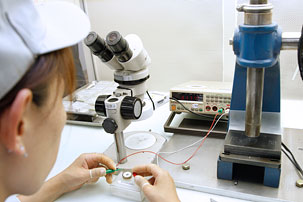
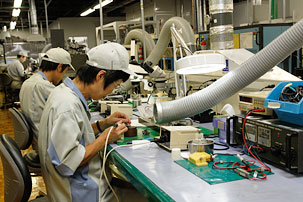
The process is for fine-tuning resistance by combining chip resistance(left).
The final assembly step is completed by connecting a hybrid IC or connector and setting the cover in place(right).
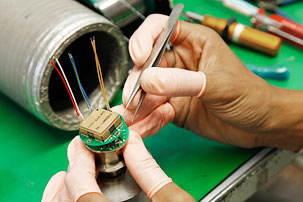
Pressure sensors used with the LE-7A first-stage engine for the H-IIA/B rocket.(left)
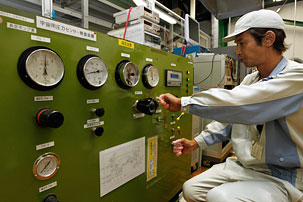
For the final inspection step, the quality of the completed pressure sensors is carefully checked using inspection equipment for space use.(right)
MINEBEA
INTERVIEW
インタビュー
Taking on the challenges of an unfamilior field is essential for succeeding
in the world of manufacturing.
MINEBEA
Head pf the Measuring Components Business Unit, Electronic Equipment Manufacturing Division
Hideo Asagawa
